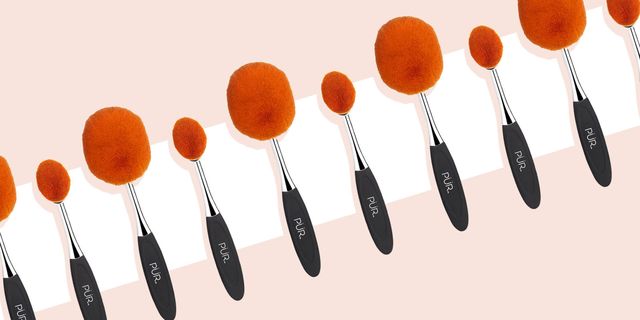
If you watch pretty much any YouTube makeup tutorial these days, you've likely seen someone use an oval makeup brush — you know, those long makeup brushes with an oval-shaped cluster of perpendicular bristles on one side? At first glance, they look more like a hairbrush than something you'd use to apply bronzer, but once you try them, you'll be hooked.
These brushes are sold individually and in sets, and they use man-made synthetic fibers for a precise, predictable application, so they're cruelty-free and vegan (yay!). Most importantly, they're designed to be easy to use on yourself, making every makeup application even more flawless. We asked Kelli J. Bartlett, Director of Artistry for GLAMSQUAD, to give us a simple primer on how to use oval makeup brushes.
Watch our full video demo to see these tips in action:
1. How to Use an Oval Makeup Brush to Apply Foundation
First off, why an oval brush instead of, say, a BeautyBlender?
"They have a very fine bristle at the very top that almost feels like velvet. It's like you're massaging the skin to get that really natural finish," Bartlett says. The tiny hairs lay down makeup and blend more efficiently, and they use less product, too: "When you're working with liquids and creams, you want to use synthetic brush hairs because they pick everything up and deposit it. The brushes don't hold in a lot of product, and you cover a lot of surface area very quickly."
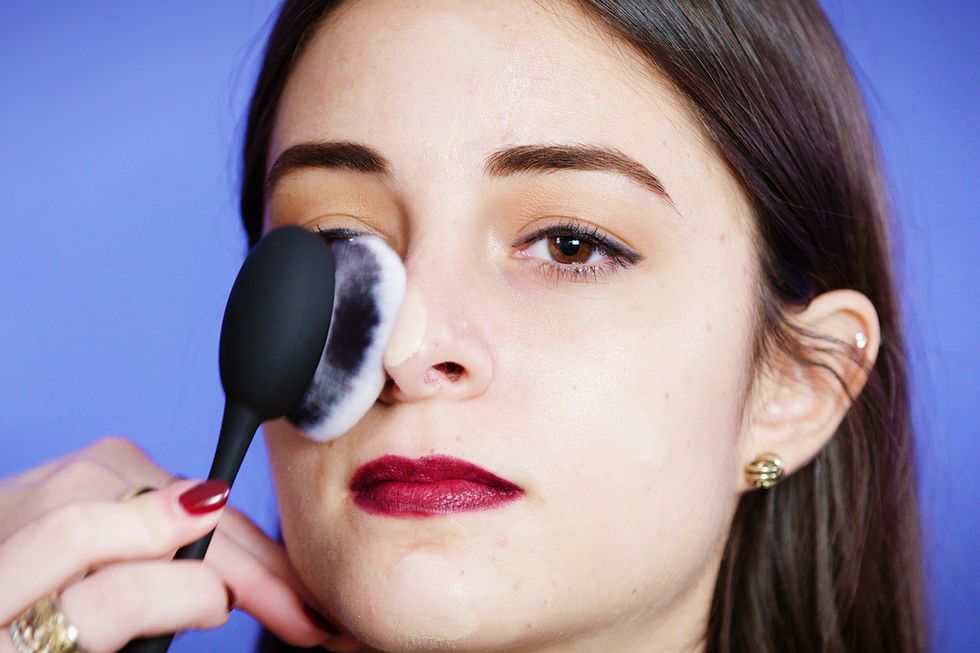
Apply some foundation to the back of your hand, then dip the bristles of a large oval brush into the foundation. Start applying in the center of the face on your T-zone. "You can use a pulling motion, or you can use a buffing motion," Bartlett says. Try using small circles to blend the foundation out and across your forehead, nose, cheeks, and chin, then over your jaw and down onto your neck.
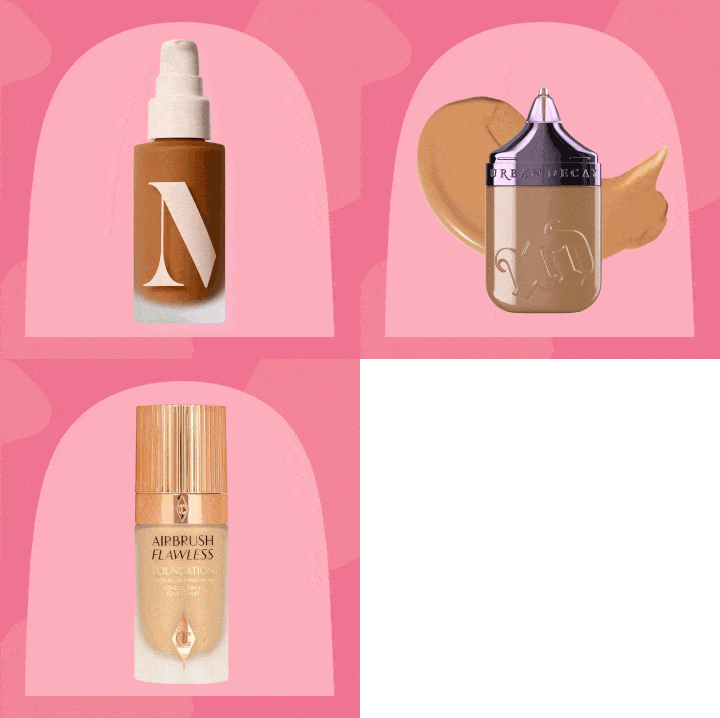
More: Shop Some of Our Favorite Foundations Here
2. How to Use an Oval Makeup Brush to Contour Your Face
"Oval brushes are perfect for contouring," Bartlett says. "They have the perfect shape that sticks right in the hollow of the cheekbone." For the perfect contour, Bartlett likes to start with the cheeks. "First, I always say, 'make a line and then mess it up.' When I say 'mess it up,' I mean blending," she says. Swirl a medium oval brush into a cream bronzer, then "set the oval brush right inside the hollow of the cheekbone. You've got that bone in there that really kind of stops the brush in its tracks," Bartlett says.
Then, draw a line across your cheekbone diagonally toward your nose, right in the hollow below the bone where you want to add depth and already have a natural shadow. Then, she says, "Use little circular motions or even a swiping motion to blend."
After you contour the cheekbones, it's time to contour the forehead and jaw. Bartlett says to imagine your forehead, cheek, and jaw contour lines forming "a big '3' or a sideways 'W' on both sides of the face." Apply a bit of cream bronzer to your brush, then sweep it across each side of your forehead in a small arc just below the hairline. Blend well with small circular motions: "You want a gradient effect where it gets lighter and lighter toward the brow," Bartlett says. Next, sweep some contour along your jawline — just underneath the bone on both sides — to sharpen your facial lines and create a little extra depth. Again, blend well using circular motions to smooth the color down into your neck.
Finally, if you'd like to contour your nose, "Take whatever's left on the brush and rub it right on the tip of the nose and down either side for a little extra definition," Bartlett says.
More: Shop Some Great Contour Kits Here
3. How to Use an Oval Makeup Brush to Apply Blush
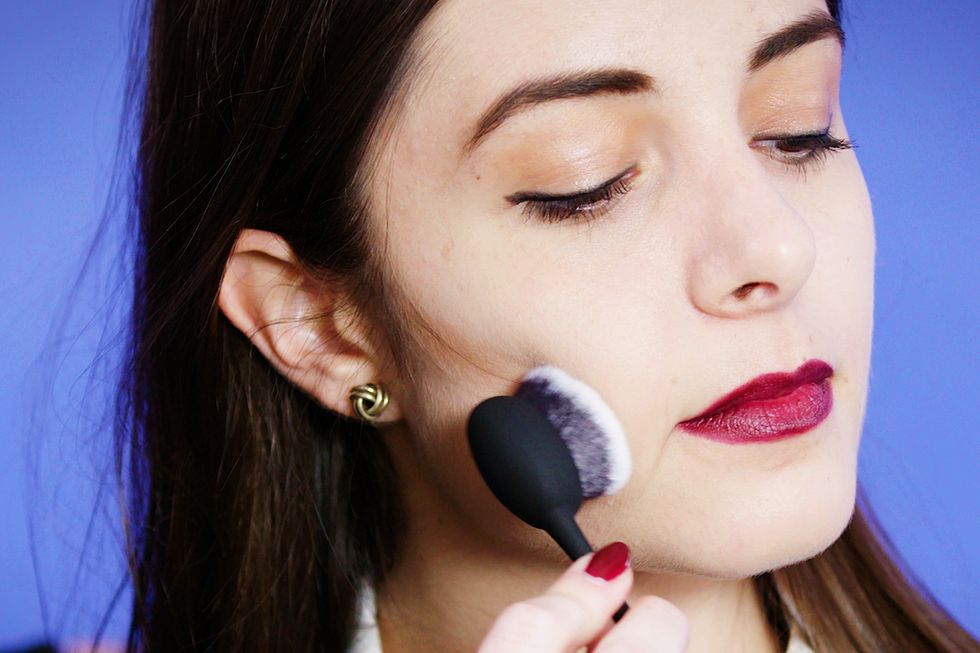
Blush is arguably the easiest step, so smile — you made it through the hardest part! But literally smile, though, because Barlett uses the "smile and swoosh method" in order to find the right spot for blush. "Smile, and apply the blush right on the apple of the cheek where it puffs up," Bartlett says. "Use those circular motions to blend it right into the contour you did." The idea is to blend in the edges — not to spread the blush all the way around your cheek.
That's it! Remember the "smile and swoosh" and "big 3" techniques, and soon you'll be able to wield an oval makeup brush like a magic wand.
More from Best Products:
Foundation Brushes That Give a Smooth, Natural Finish
Matte Eye Shadow Palettes That Brighten Up Your Eyes
Best Makeup Brush Sets for Your Whole Beauty Routine
Follow BestProducts.com on Facebook and Pinterest for more reviews and the latest product news, so you can find the things in life that are perfect for you (at the right price)!
