If you’ve procrastinated on learning to properly curl your hair, you’re not alone. Despite all the gorgeous curls you might be seeing on Instagram, the number of highly-viewed hair tutorials (and failed hair tutorials) on YouTube leads us to believe more people are not as skilled with a curling iron than they’d care to admit. But with a little commitment, the right prep, and a steady hand with your iron of choice (more on that later) you’ll be creating professional-grade curls in no time.
The Prep
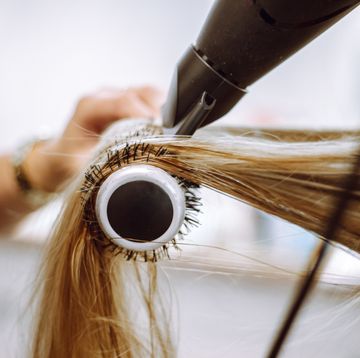
Friends don’t let friends just start curling their hair without the proper preparation. For all hair types, you want hair to be as dry as possible, so if you just shampooed, make sure you followed with a thorough blow-dry. Then, spritz all over with a heat protectant—essentially a primer for your hair. Finally, it may seem backwards, but you can also apply hairspray before curling, a trick that not only adds yet another barrier between the iron and your hair, but also helps the curls last longer.
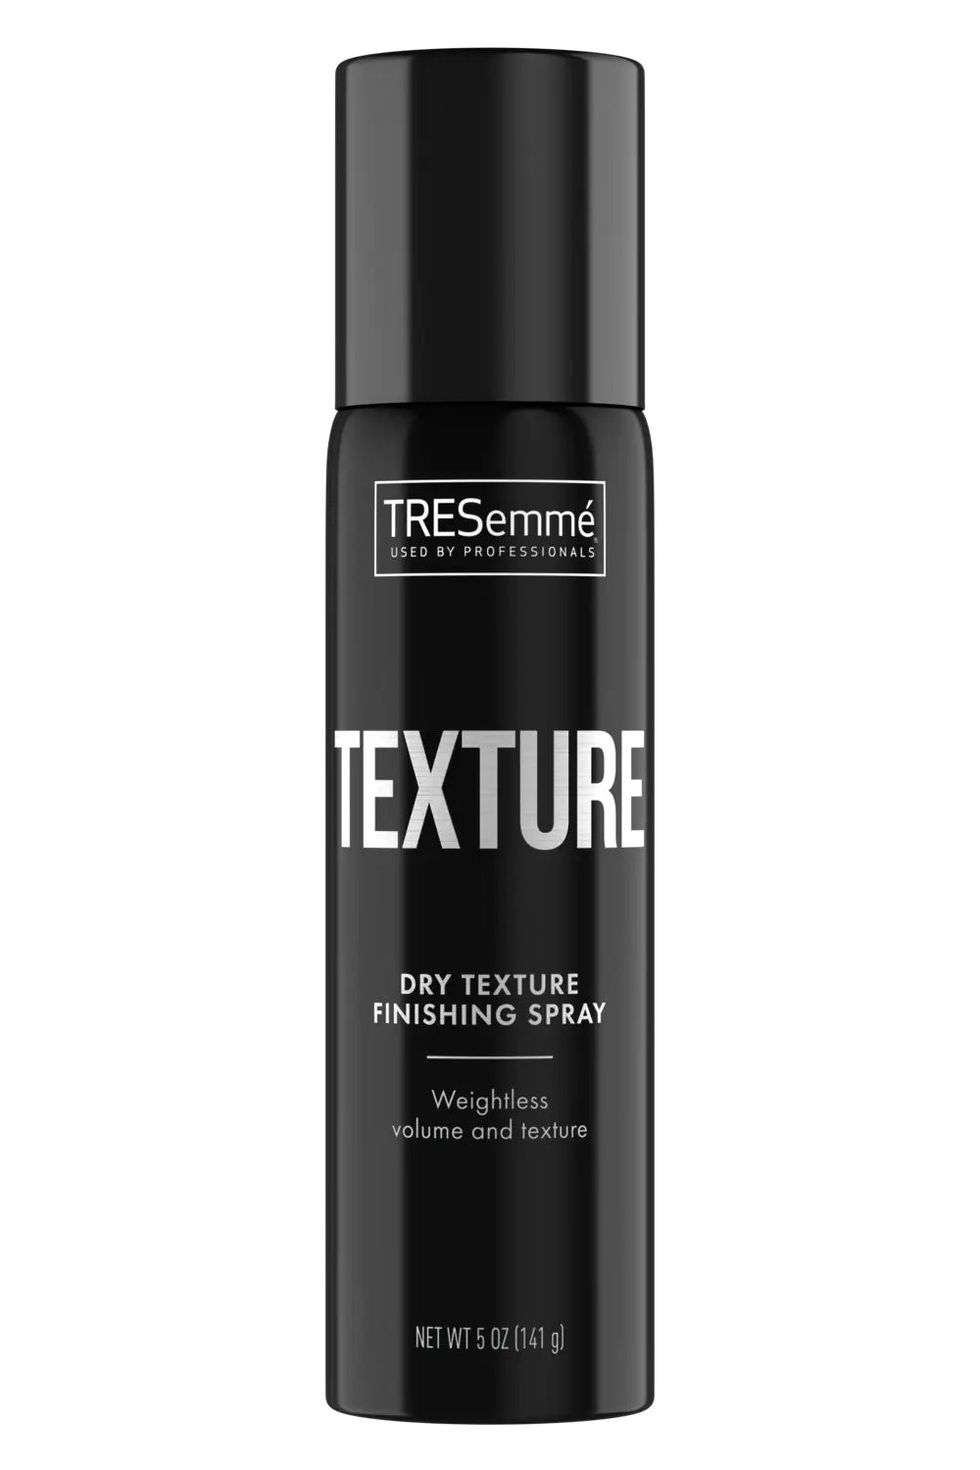
Pro tip for all the straight-haired gals: Unless you want your curls to fall, don’t skimp on prep. The key is adding texture—think mousse, dry shampoo, texture spray, anything that gives hair a little grit—to help the curls retain their shape. Don't be afraid of hairspray.
The How-to: Curling Iron
The technique: Using a large-barrel iron, curl small sections of hair away from the face. Note: YouTuber Dacey Cash has super-long hair, so she curls hers in segments—you may be able to curl each section all at once.
The results: Loose but polished waves that take about five minutes flat (once you get the hang of it).
The How-to: Curl Wand
The Technique: Wrap small sections of hair around the barrel, alternating between wrapping them towards your face, and away from your face to give it more natural texture.
The Results: Beachy, piece-y waves that are a little less uniform (in a good way).
The How-to: Flatiron
The Technique: Twist a small section around the flatiron, and pull gently through to create a soft wave. Alternatively, you can also create "bends" in the hair by changing the direction you pull the iron.
The Results: The most subtle waves of the three, and also arguably the easiest. The flick of the wrist does take a little practice.
The Finishing Touches
No matter what method you choose to curl your hair, the next step is crucial: When you’re done, be sure to brush out the curls—either with your fingers or gently with a brush—to give them a more natural look and texture. Once you’ve achieved your desired look, finish with your styling product of choice and another blast of hairspray to make the curls last.


